In architectural visualization you often need to create tiling textures from photo references, and usually they need to tile so you don’t get seams at the edges of repeating textures maps.
The problem with photographic textures is that generally they have colour variation and differences in shading across the surface. Here’s a quick tip on how to fix this.
Below is a photographic texture of a terrazzo floor finish which I have already cleaned up a little (improved sharpness and played around with levels, contrast etc.)
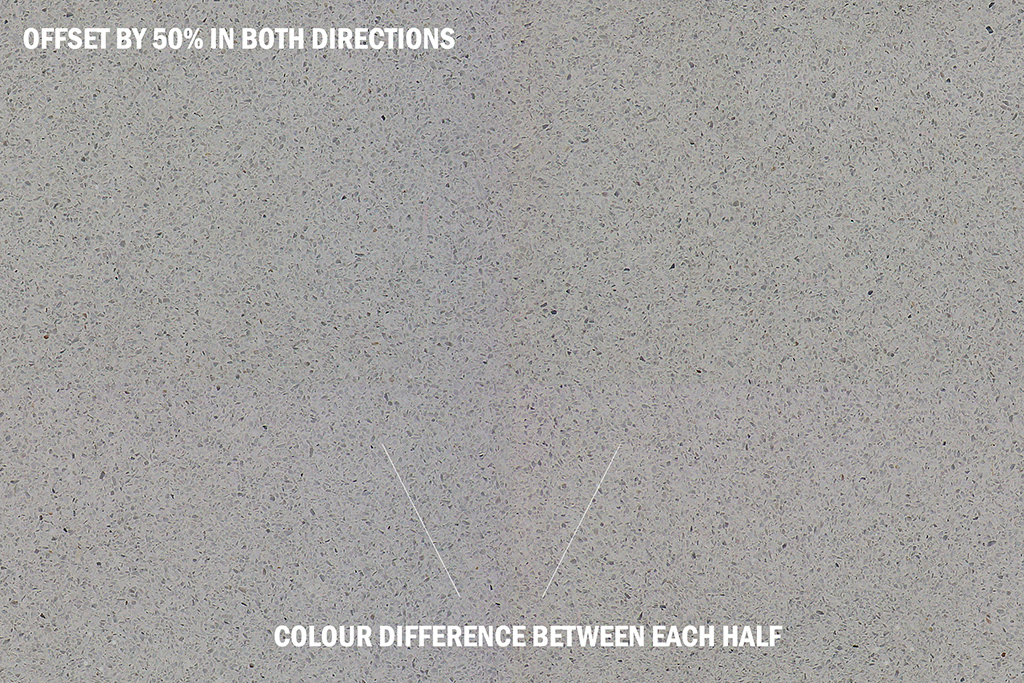
To make a tiling texture we all start by offsetting the edges in both X and Y direction. In Photoshop select Filter > Other > Offset. See the resulting image below:

Quick Tiling Textures
This images ability to tile is limited because of the colour differences you can see in each quadrant. All is not lost ! You can use the quick technique below. (originally explained by the 3D artist Paweł Filip)
To prepare your photo for tiling follow these steps:
1. Open your image in Photoshop
2. Duplicate the Background layer (keyboard shortcut Crtl J)
3. Select Filter > Blur > Average
4. Double click the background layer to make it movable and move it to the top of the stack
5. Apply Linear Light blending mode to the background layer and change its opacity to 50%
6. Finally select Filter > Other > High Pass and adjust the radius parameter (select 100 to begin with and adjust accordingly).
You can see the full process on the Tolas blog page “How to Equalize Textures in Photoshop”
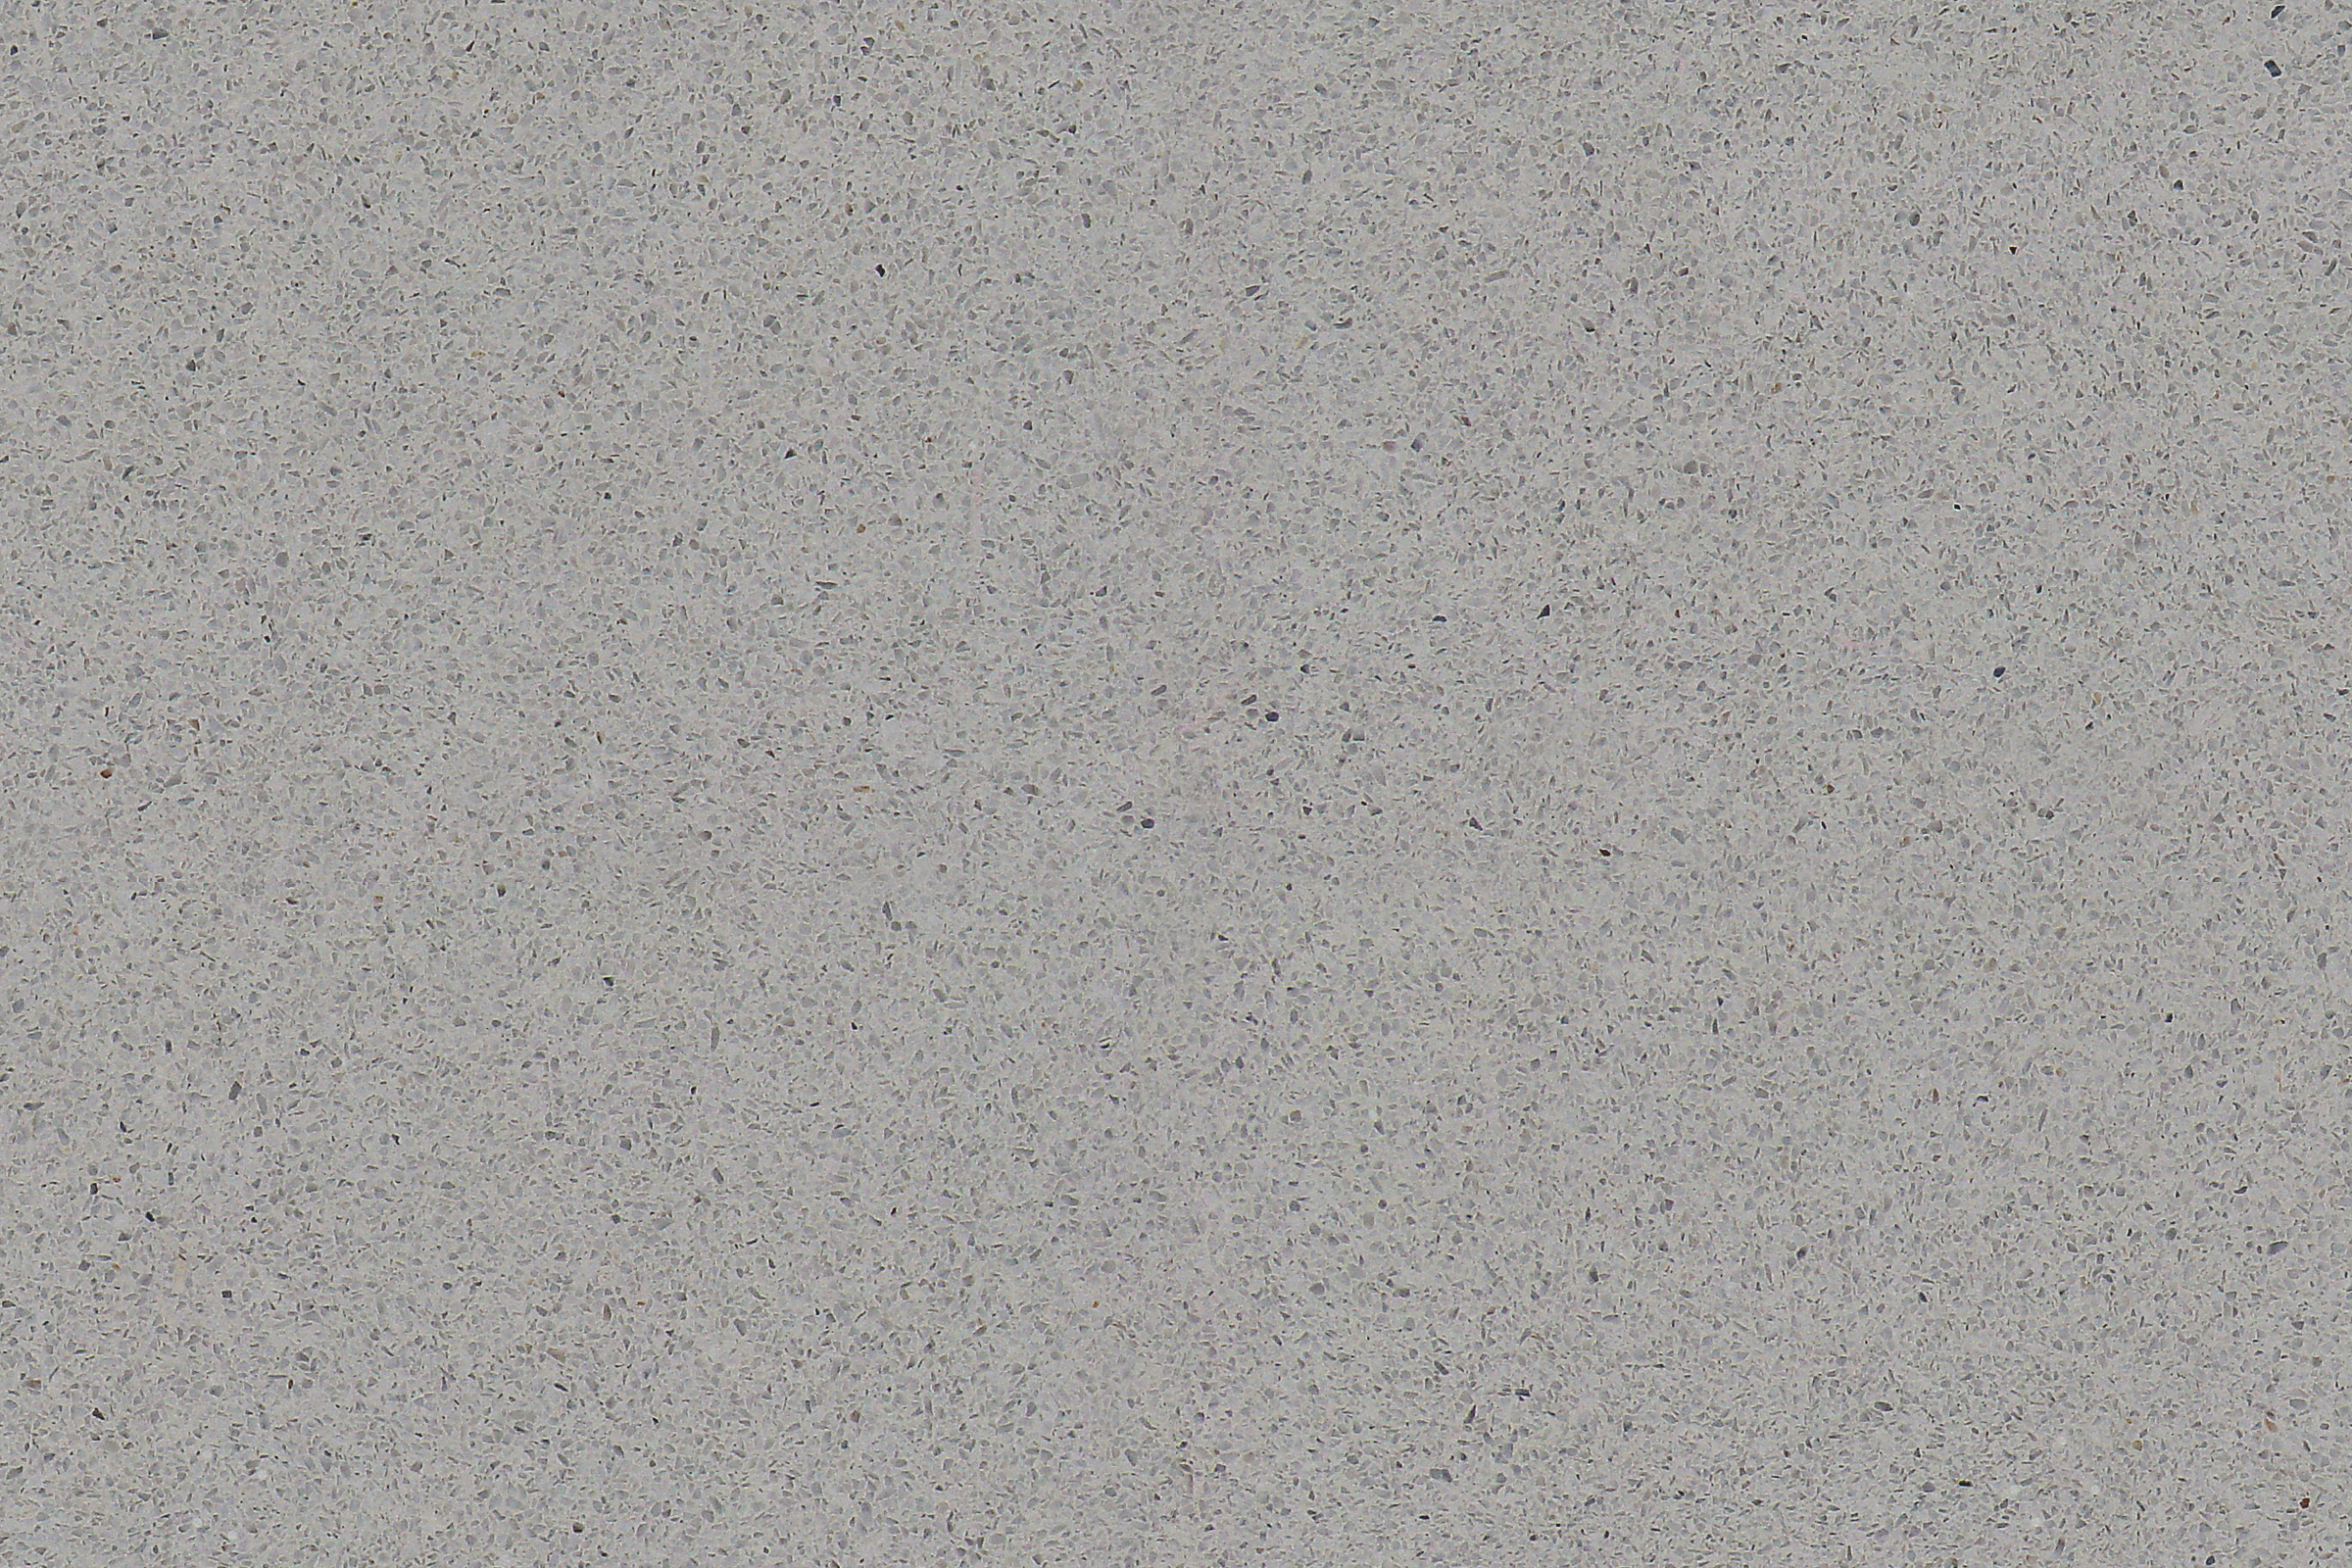
Now when you offset your photo you get a nicely equalized image. Here’s the final terrazzo texture which was quite easy to make seamless using the Clone Stamp Tool (S) in Photoshop.
Feel free to download this high resolution texture and use it your commercial or personal projects…

Tiling Texture
Leave a Reply