Finding the right lighting solution can be the difference between a good design and a great one.
There are many tutorials out there showing you exactly how to achieve specific lighting in specific software. But, in this blog, I’d like to propose a few rules that will help you reach a more natural and comprehensive lighting solution.
For example, you wouldn’t use intensely bright lights if you were attempting to visualise a cottage on a late summer’s afternoon. Instead you’d look to capture the lengthening shadows cast by the cottage’s structure. For every situation there is a complimentary lighting solution, so understanding how different colours and intensities effect a scene is paramount for any architect passionate about their work.
Study good reference material
I’m sure, at some point, you’ve looked at another architectural visualisation or photo and thought “wow! I wondered how they achieved that look”.
Get into the habit of saving this kind of material for future reference. Putting together a scrapbook of stunningly lit images will be provide you with a great source of inspiration when beginning your own project. On top of this, it will also serve as a reminder to consider different types of lighting lighting effects that you may not have thought about otherwise.
Direct the viewer’s eye
Alot of great renderings work because they direct the viewer’s eye towards the subject of the image. This is partly achieved by composition, but using light and shade or even simply ‘vignetting’ your image in post-production can help you draw the audience’s attention to a particular point in your designs..
Create Emotion
Ideally, you want people to be moved by the image you’re presenting. Lighting plays a tremendous part in generating feeling. You don’t always have to create standard ‘sunny day’ illustrations. Think about the effect of different weather conditions like snow or even fog. Sunset views produce warmth and interesting shadows. Night-time lighting can often create a more dramatic reaction.
Make objects readable
Think about how you setup your lighting to best show off the architecture. Understanding how the viewpoint of your render affects the use of light is very important.
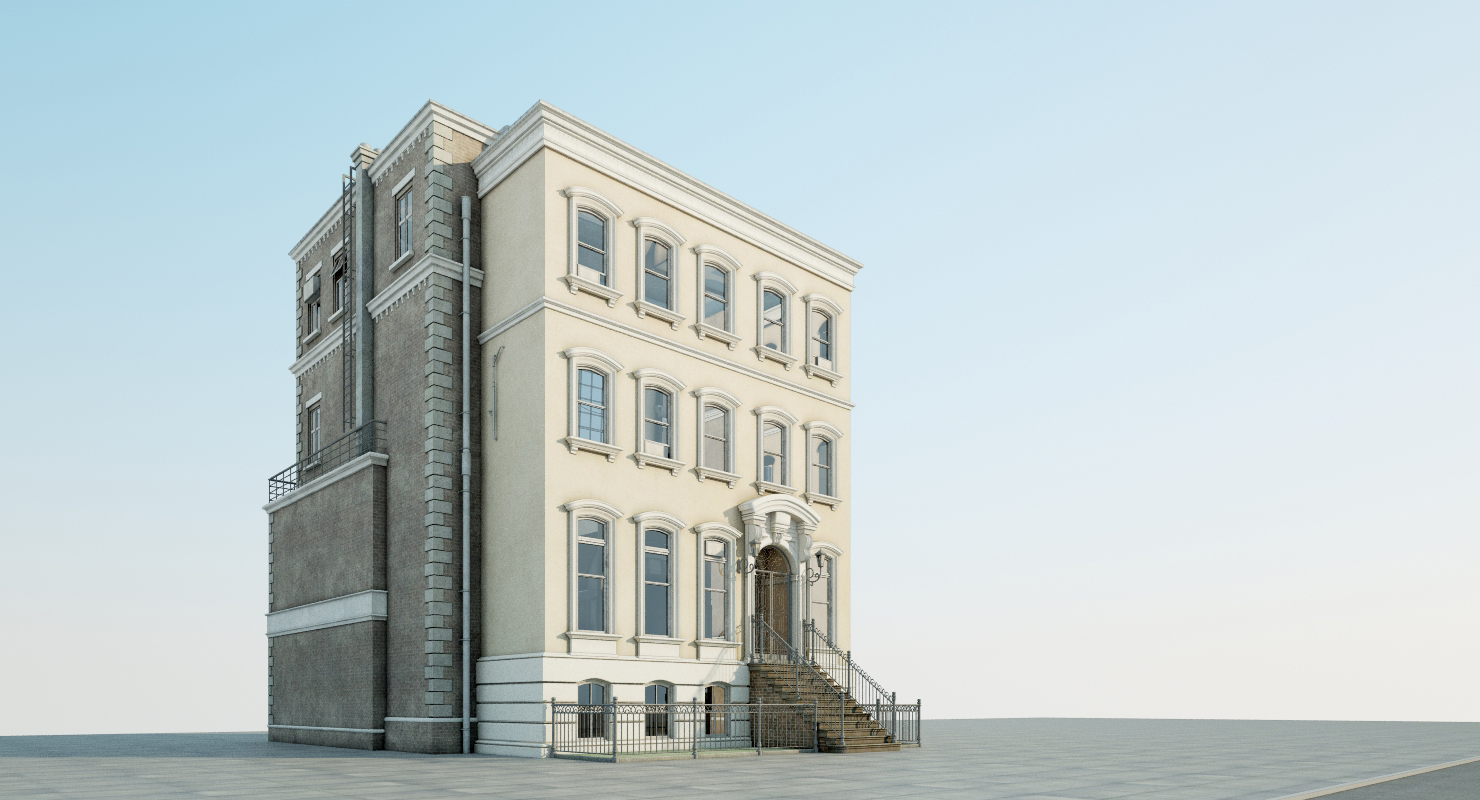
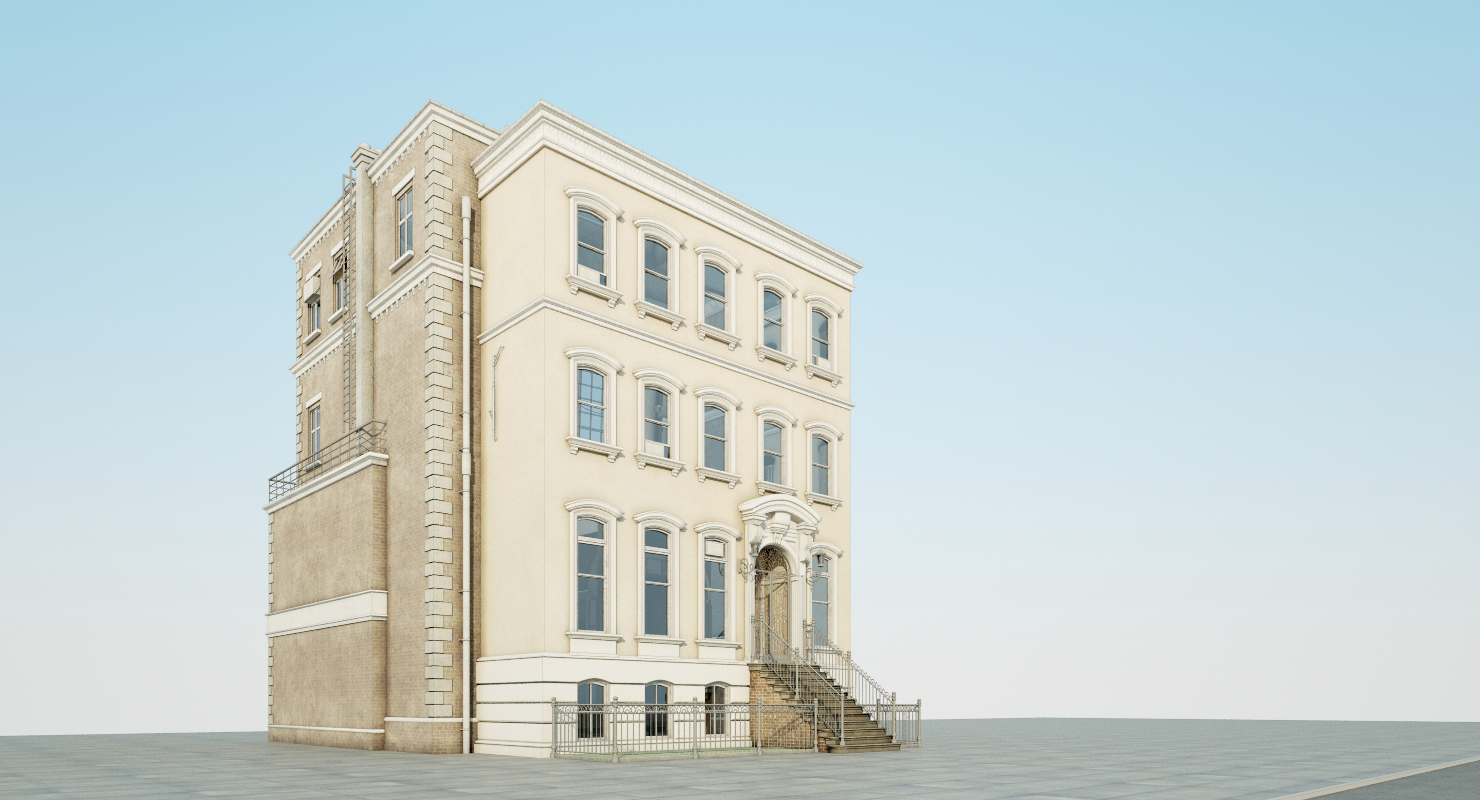
For example, in the images above, the first rendering shows the sunlight coming from the front and side of the building. This gives a good reading of the building in 3 dimensions. However, the second image has the sunlight coming from behind the camera, which creates a very flat image, making it more difficult to determine the volume of the architecture. The same is true of interior views. Play with various lighting setups to find what works best for your vision.


Leave a Reply